Getting Started
Filling a vape tank for the first time might feel a bit daunting. But don’t worry, it’s a breeze once you try it a few times. It’s a quick job that soon feels like no big deal. For folks new to vaping or using a fresh device, getting the hang of filling the tank right makes every puff smooth and awesome.
This guide walks through the steps to fill a vape tank. Plus, it shares some tricks to steer clear of common goofs.
What’s a Vape Tank and Why Does It Matter?
A vape tank is a container that holds e-liquid, also known as vape juice. It’s got a coil inside. This coil heats up the e-liquid to turn it into vapor. The tank’s main role is to keep the e-liquid ready for vaping. Filling it the right way makes sure vaping stays steady and fun.
Step 1: Pick the Perfect E-Liquid for Your Vape Tank
Before pouring anything into the tank, choose an e-liquid that suits personal taste. E-liquids come in kinds like nicotine salts or freebase nicotine. Each type fits best with certain devices.
For pod systems, go with e-liquid that has more nicotine, around 20–50 mg/ml. This gives the best kick. For sub-ohm tanks, pick lower nicotine, like 3-6 mg/ml. Those tanks pump out bigger vapor clouds.
Make sure the e-liquid works with the tank. Also, check the VG/PG mix. VG (vegetable glycerin) makes a soft puff with lots of vapor. PG (propylene glycol) gives a bolder throat hit and crisper flavor. Sub-ohm tanks usually like more VG in the mix.
Step 2: Pop the Tank Off the Device
First off, take the tank off the vaping device. Most tanks twist right off the mod or battery with ease. For pod systems, gently pull the tank free before adding more liquid.
Step 3: Crack Open the Tank
Vape tanks come with top-fill or bottom-fill setups. Start by finding the fill spot. For top-fill tanks, twist or lift the top cap to show the fill hole. For bottom-fill tanks, unscrew the bottom part to get to the port.
Look at the device’s manual, since opening methods can differ. The point is to figure out which bits need twisting or opening.
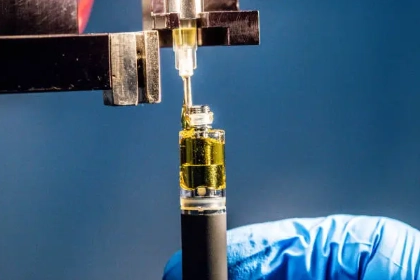
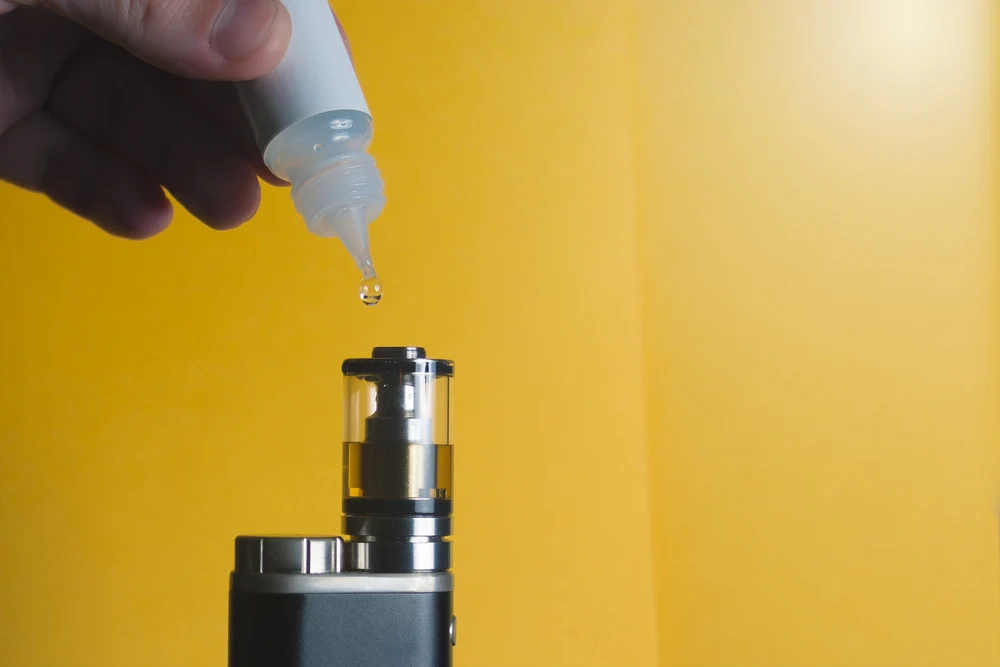
Step 4: Pour in the E-Liquid
Once the fill spot is open, it’s time to add e-liquid. Tilt the e-liquid bottle just a tad. Squeeze it lightly to let the juice drip into the tank. Keep it away from the coil or the middle airflow tube.
Handy Tip: Don’t pack the tank to the brim. Leave a little room at the top to avoid leaks when sealing it up. About 80% full is just right.
For tanks with tiny holes or to keep things tidy, use a needle-tipped e-liquid bottle. It makes filling super clean and easy.
Step 5: Put the Tank Back Together
After adding the juice, screw the top or bottom cap back on. Ensure it’s nice and tight to stop any leaks. Check the rubber gaskets or O-rings. They’ve got to be set right and in good shape for a solid seal.
Step 6: Let It Sit a Bit
Once the tank is filled, give the e-liquid time to soak into the coil. Wait a couple of minutes so the juice wets the coil and wick. This is really key for new coils. It keeps away harsh dry hits or burnt flavors.
Step 7: Hook the Tank Back Up
When the tank is good to go and the e-liquid has soaked in, reattach it to the device. Twist it on snugly to the mod or battery.
Step 8: Tweak the Power (If Needed)
For devices where power can be changed, set the wattage to match the coil’s resistance. Folks new to vaping should start low and bump it up slowly. This stops the coil from burning out.
Step 9: Get the Coil Ready (If Needed)
Getting the coil ready means making sure the wick is soaked with e-liquid before hitting the vape. This avoids dry hits, which happen when the coil burns from not enough juice.
To get it ready, take a few soft puffs without pressing the fire button. This pulls e-liquid into the coil. If the device has airflow settings, adjust them to a comfy level for smoother puffs.
Step 10: Time to Vape
With the tank filled, coil prepped, and parts locked in, it’s time to enjoy vaping. Take slow, easy puffs to test the vapor and taste. Tweak settings if the flavor or clouds need a boost.
Helpful Tips for Filling Your Vape Tank
- Go Easy: Handle the tank with care when filling. Pushing too hard might break stuff or cause leaks.
- Look for Leaks: After filling, make sure all parts are tight. If leaks pop up, check seals and O-rings to ensure they’re set right.
- Keep It Neat: If e-liquid spills on the tank’s outside, wipe it down with a cloth to stay clean.
- Don’t Overdo It: Leave a bit of space at the top to avoid spills. This gives the juice room to settle.
- Pick the Right Juice: Choose e-liquid that matches the tank and coil. The wrong kind can mess up the vape or device.
- Give the Coil Time: Always wait a few minutes before vaping, especially with new coils. This stops dry hits and burning.
Common Problems When Filling a Vape Tank
- Leaks: If the tank leaks after filling, check that the cap and O-rings are secure. If leaks keep happening, look for cracks or damage in the tank.
- Burnt Flavors: If the vape tastes burnt, the coil might not be soaked enough. Try a few dry puffs to get e-liquid into the coil.
- Spills: If juice spills while filling, use a bottle with a skinny tip. Pour slowly to keep from overfilling.
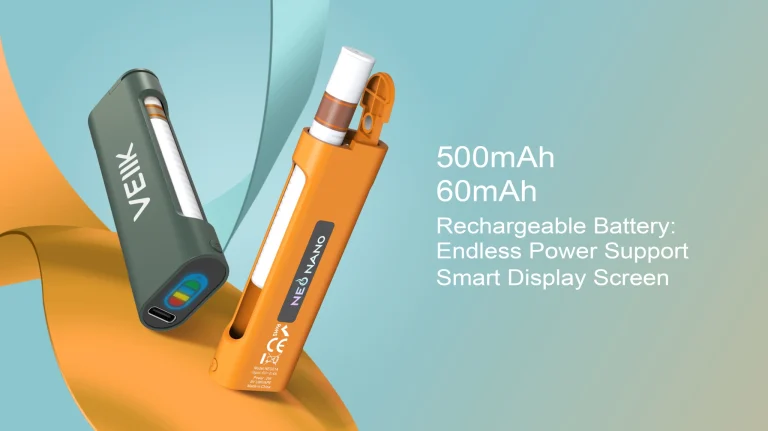
Get Started with VEIIK’s Premium Vaping Products Today!
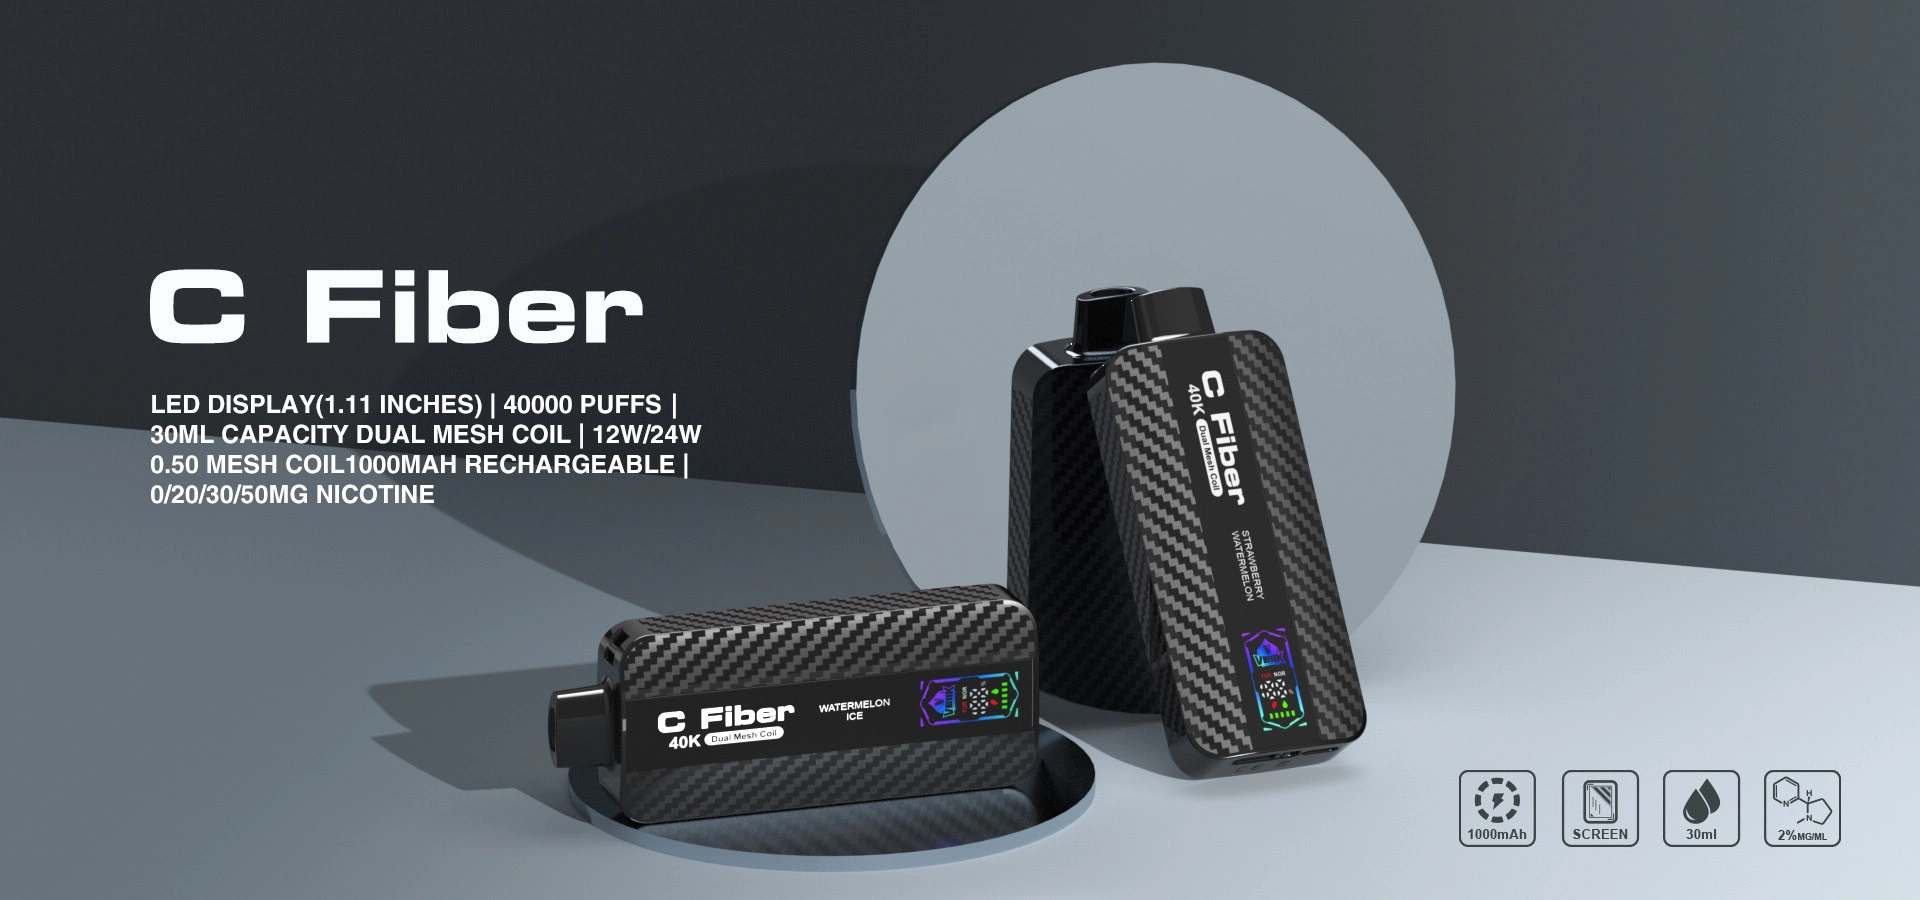
Ready to level up the vaping game? VEIIK has awesome disposable vaporizers, refillable pods, and e-liquids to fit any vibe. Whether new to vaping or a pro, there’s something cool to try.
With over 10 years in the vaping scene, VEIIK makes clever gear. Their products are all about trust, comfort, and healthy fun. They use the latest tech for top-notch performance and yummy flavors.
No need to wait! Check out VEIIK’s full lineup today for a healthier, happier vaping adventure. For wholesale questions, reach out to wholesale@veiik.com.
Dive in now and join the VEIIK vaping revolution!